API Logic Server Development
This page does not address created projects, rather, it is about the API Logic Server system used to create projects. It is for those who want to extend the product or understand how it works, not for those simply using the product.
How to Install it
Follow these steps to:
- Obtain the software from GitHub
- Open it in your IDE
- Perform basic testing
- Build and release (including automated testing)
- Change and integrate Safrs React Admin (Admin app)
Obtain the projects from GitHub
To create the projects:
- Create an empty folder (e.g.,
~/dev) - Download and run the install-ApiLogicServer-dev procedure (note: Windows users use
install-ApiLogicServer-dev.ps1), e.g.:
cd ~/dev  # project directories created here
sh install-ApiLogicServer-dev.sh vscode
This will use git clone to create folders in dev:
- ApiLogicServer
- safrs-react-admin, and
- servers
It's basically straightforward, though note the cp command which copies the safrs-react-admin runtime to API Logic Server for subsequent creation of API Logic Projects:
    mkdir servers    # good place to create ApiLogicProjects
    git clone https://github.com/valhuber/ApiLogicServer
    git clone https://github.com/thomaxxl/safrs-react-admin
    cd ApiLogicServer
    cp -r ../safrs-react-admin/build api_logic_server_cli/create_from_model/safrs-react-admin-npm-build
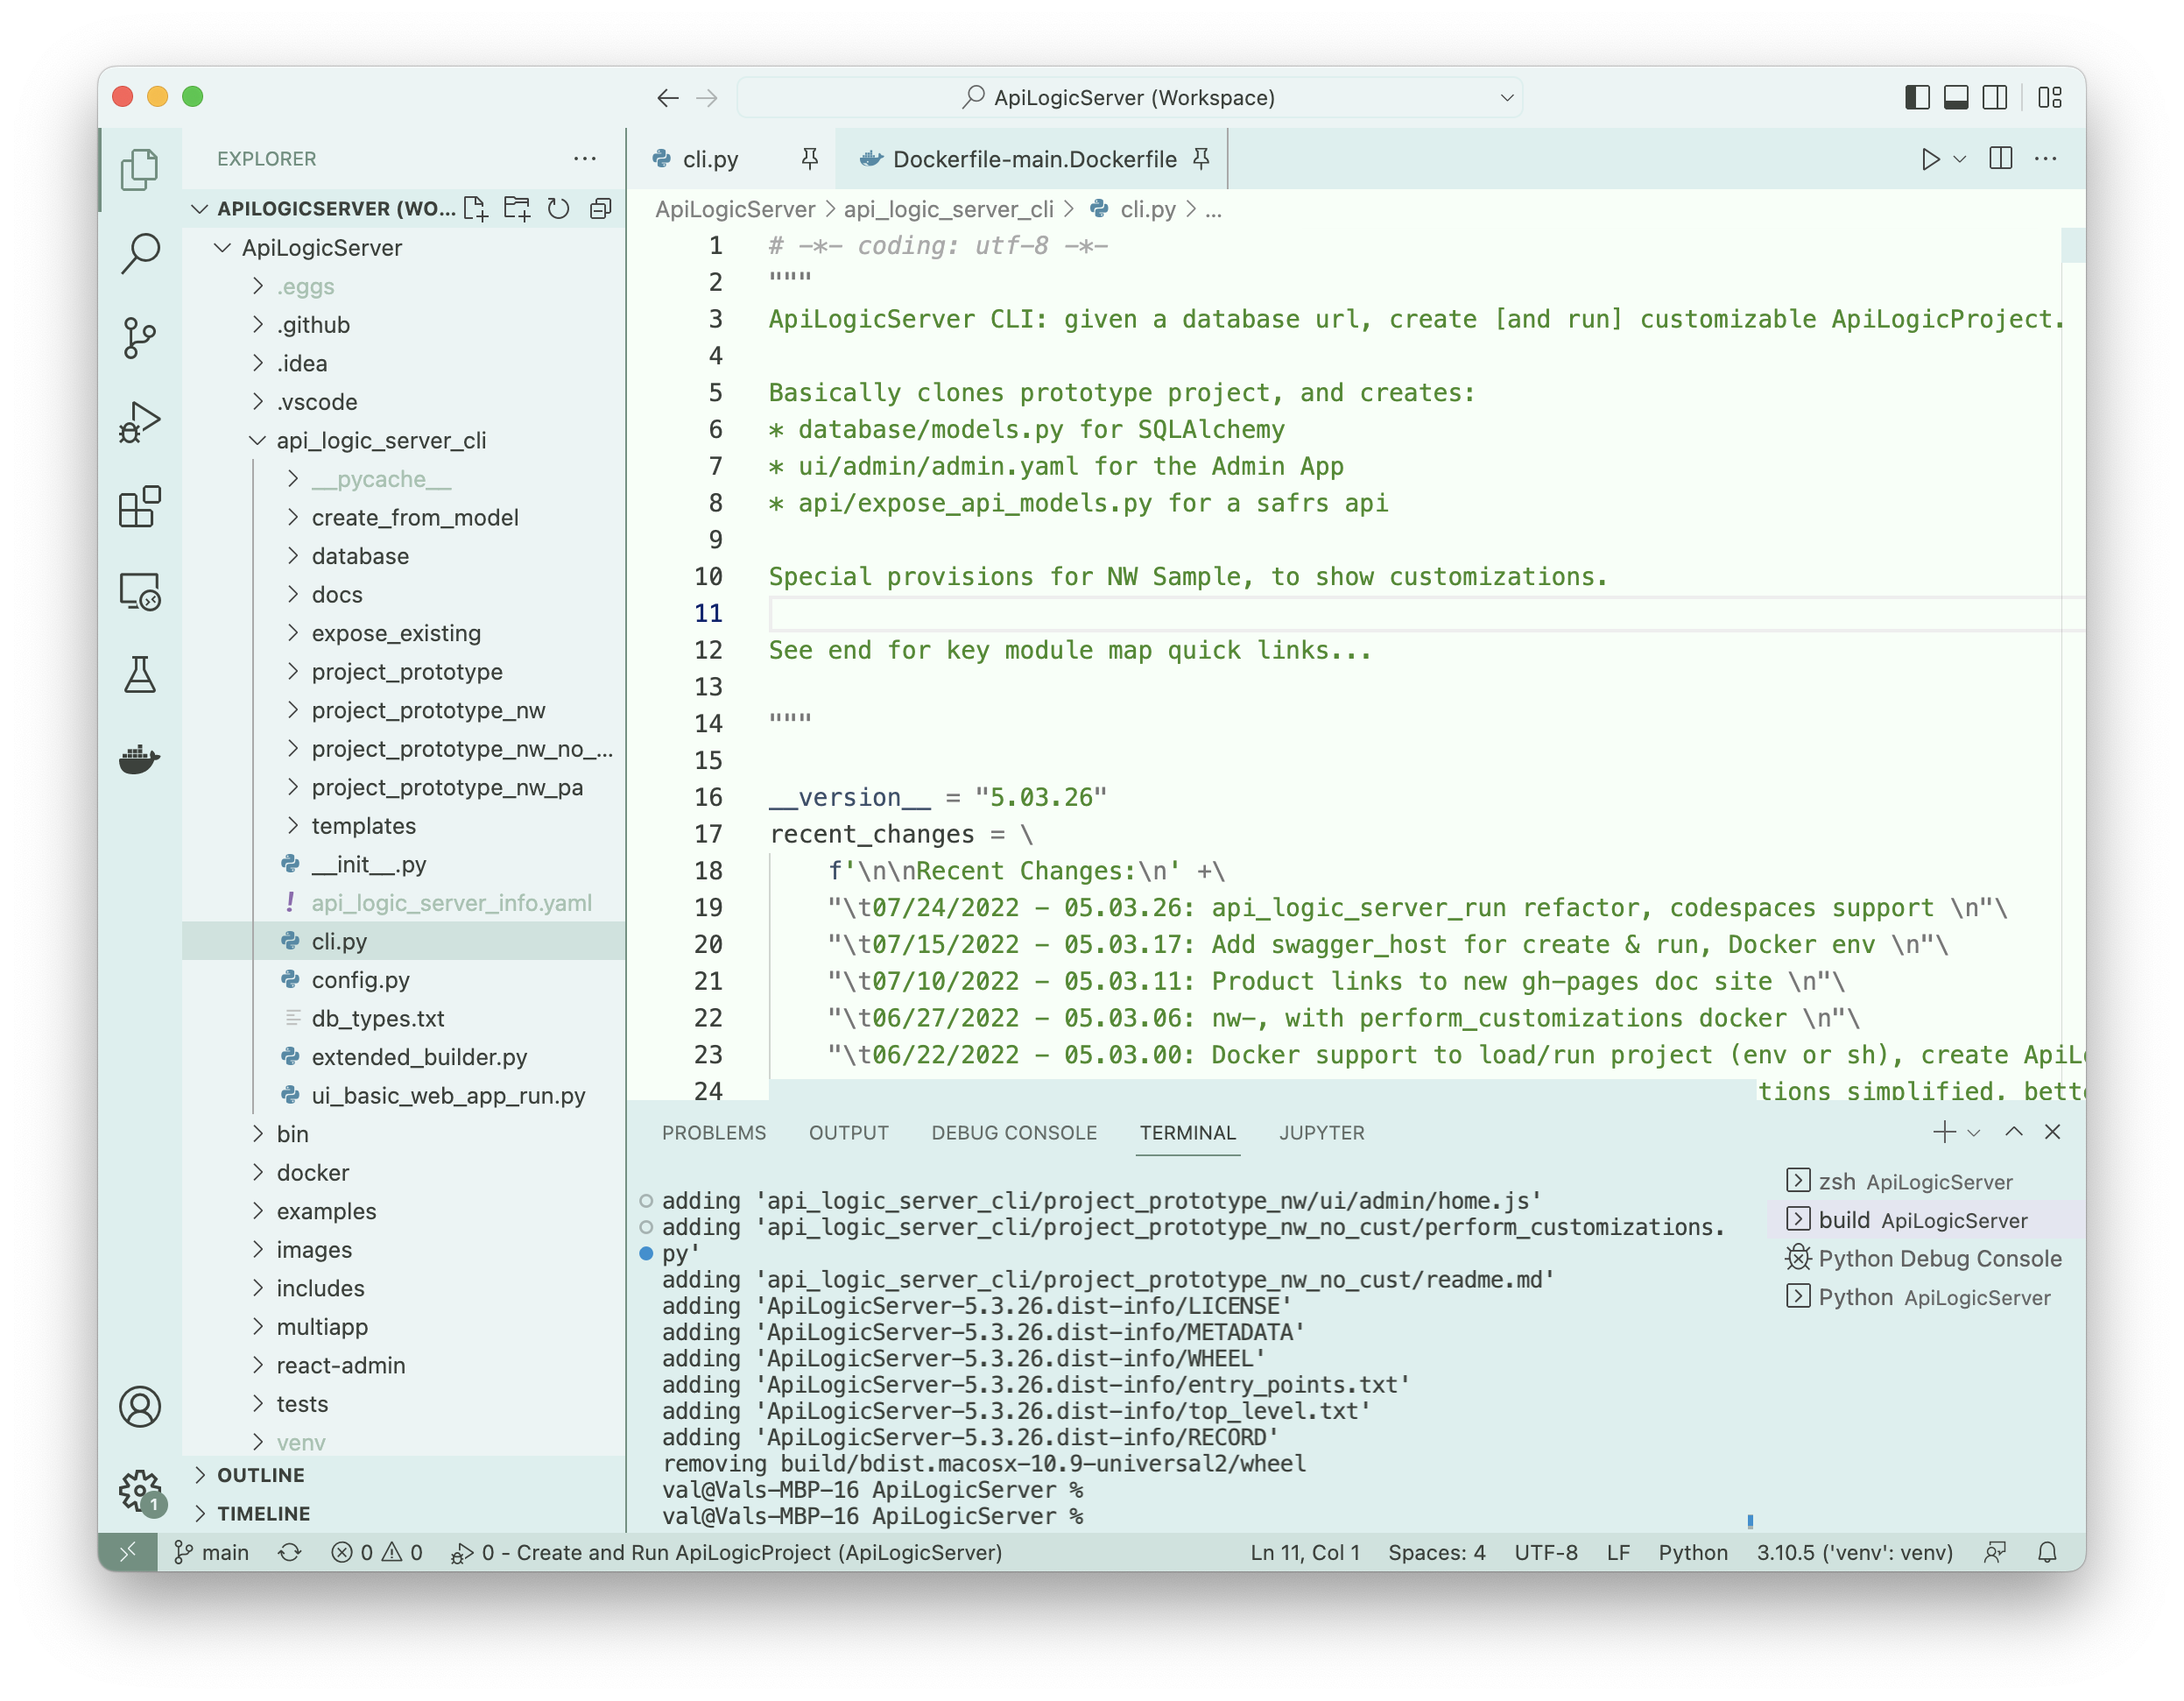
Open ~/dev/ApiLogicServer in your IDE
install-ApiLogicServer... will create a project, and open it VS Code or PyCharm.
Python requires a virtual environment; the procedure differs for vscode vs. charm:
vscodeprojects are created with avenvand are ready to run the Launch Configurations to create the samplecharmprojects require that you create thevenvwith the PyCharm
It should look something like this:
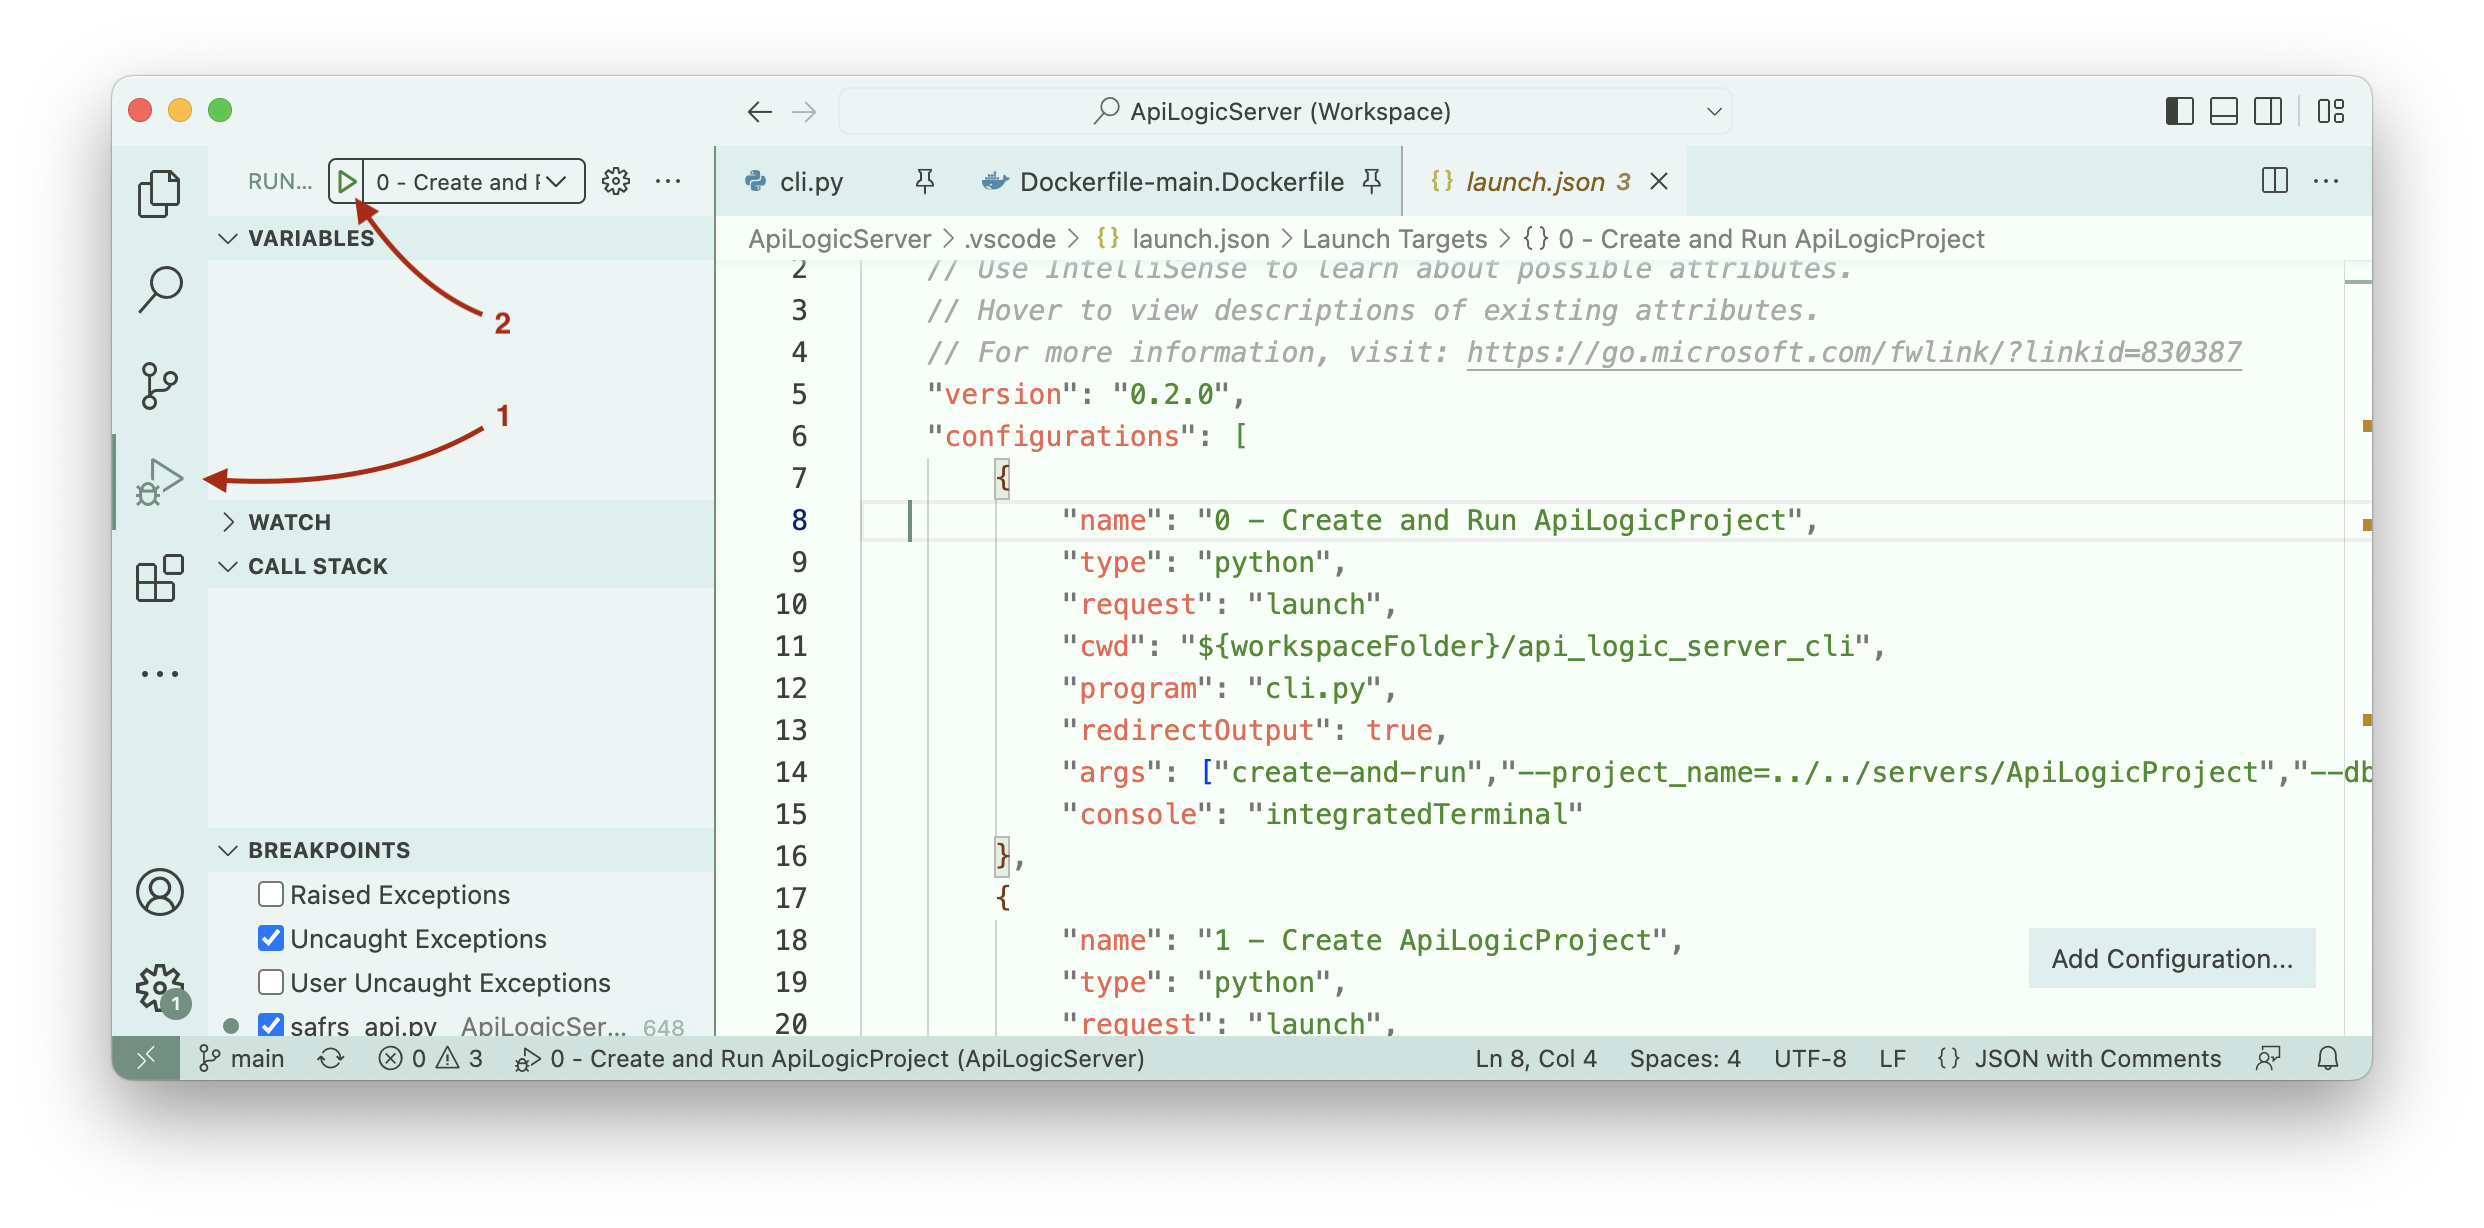
Create the Sample (~/dev/servers/ApiLogicProject)
Once in your IDE, you can run the pre-defined launch configuration 0 - Create and Run ApiLogicProject to create and run the sample. This creates ~/dev/servers/ApiLogicProject.
Build and Test
As of version 6.02.20, test automation (located here) replaces a series of manually executed scripts (located here). These have been verified on Mac, Linux (Ubuntu) and Windows.
The automated test (use the launch configuration BUILD AND TEST) performs a number of steps. You can configure the test to run some or all of these by editing the `env_xxx.py files shown here:

do_install_api_logic_server
This:
- Runs the standard Python build:
python3 setup.py sdist bdist_wheel - Installs it into a Python environment
dev/servers/install/ApiLogicServer/venv - Installs
pyodbc. Note this requires you have installedodbc, but install failures are intentionally ignored (instead, skip the Sql/Server database withdo_docker_sqlserver = False)
do_create_api_logic_project...
This creates the sample project, runs the server, and tests the logic using the behave tests. It produces quite a lot of output which you can ignore. The test is designed to terminate if the tests fail.
These are extensive tests which verify project creation, server startup, logic and some minimal API testing (the Behave tests issue APIs to read/write data).
do_allocation_test
This is a complex rule example.
do_docker_<database>
These create projects from docker databases (see here) which are expected to be running. They perform minimal validation to ensure the server starts by executing the hello world API.
This in fact verifies that the `models.py` file is created and runs.
Develop / Debug admin app
Once you have created the API Logic Project, you can restart the server like this (it is not necessary to recreate the sample each time you run):
cd ~/dev/servers/ApiLogicProject
python3 api_logic_server_run.py
You can obtain an editable version of the admin app like this:
cd ~/dev/safrs-react-admin
git clone https://github.com/thomaxxl/rav3-jsonapi-client # modified data provider used, installed in the project root
Then, to debug (with server running):
npm install --global yarn # required only once
yarn install
yarn run build

yarn start
To make this the runtime used to create API Logic Projects:
cp -a /build/. ../ApiLogicServer/api_logic_server_cli/create_from_model/admin/
Docker Startup
You can review the dockerfile on github. Note that the normal operation is to start a terminal session as the last step:
CMD ["bash"]
When bash sessions are started, Linux runs .bashrc. This checks for environment variables which can be used to load an existing project from git, and run it. (Note: this defeats the normal terminal startup). For example, start Docker using -e arguments, like this:
docker run -it --name api_logic_server --rm --net dev-network \
-p 5656:5656 -p 5002:5002 -v ${PWD}:/localhost \
-e APILOGICSERVER_GIT='https://github.com/valhuber/Tutorial-ApiLogicProject.git' \
-e APILOGICSERVER_FIXUP='/localhost/Project-Fixup.sh' \
apilogicserver/api_logic_server
Alternatively, you can start Docker specifying an initial command, like this:
docker run -it --name api_logic_server --rm --net dev-network \
-p 5656:5656 -p 5002:5002 -v ${PWD}:/localhost \
apilogicserver/api_logic_server \
sh /home/api_logic_server/bin/run-project.sh https://github.com/valhuber/Tutorial-ApiLogicProject.git /localhost/Project-Fixup.sh
In both cases, the git load is performed by bin/run-project.sh, which you can explore on github.