Working With Docker
Why Docker: Reduce Install Confusion
Docker provides significant well-known advantages for development and deployment:
-
simplified development by eliminating an otherwise complex Python install
-
popular runtime deployment platform, based on a standard Linux base
-
isolation - in both cases, Docker applications encapsulate their environment, eliminating external dependencies. Likewise, Docker applications will not affect other applications running on the same hardware
ApiLogicServer is therefore provided in a docker image, as described in the Install Guide. This page provides miscellaneous operational procedures to support Docker.
Install - docker run arguments
Once you've installed Docker itself, the docker run command above installs the ApiLogicServer docker (if it's not already there), and starts it, opening a terminal window on the Docker container. Notes:
- the
v ${PWD}:/localhostargument is what enables the ApiLogicServer to create / access the project on your local host - Windows - Powershell must be used (due to the
$(PWD)syntax) - if you use Command Prompt, specify the local directory completely
The arguments mean:
- -it - launch a terminal window for the Docker container
- --name api_logic_server - the name of the image on your local host
- -rm - remove the container once it stops (your project files are not lost - they are on your local host)
- -p 5656:5656 - maps local (host) part to Docker port
- -v ${PWD}:/localhost - maps a local directory to a mount name for Docker. This is where a directory will be created for your new project.
${PWD}is your current folder.- You could also provide a specific folder, e.g.,
~/dev/servers(Unix), orC:\Users\val\dev\servers(windows)
- You could also provide a specific folder, e.g.,
/localhostis the mounted volume reference from inside the Docker containerapilogicserver/api_logic_server- the name of the image to pull from Docker Hub.- This will fetch the image first time, and will run it locally on subsequent runs
- The image is not automatically refreshed -- install ApiLogicServer updates as described below
You may also wish to add a parameter for networking:
- --net my-network - attaches to my-network
On your Docker container, you can inspect your environment:
python py.py
Open a new terminal window on your local host, and find your docker IP address:
docker inspect api_logic_server # you will find the ip, e.g., 172.17.0.2
ApiLogicServer Container upgrades
You can update your image to a new version:
docker pull apilogicserver/api_logic_server
If you update your ApiLogicServer container to a new version, your existing VSCode projects may appear to be damaged. You can fix them easily:
- Click the Dev Container button (in the lower left)
- Choose Rebuild Container
Connect to Dockerized Databases
One of the great things about Docker is the ability to install popular databases, with no hassle. Follow the procedures described in Testing.
Docker and API Logic Projects
Create Docker Hub from API Logic Project
You can build a container for your ApiLogicProject:
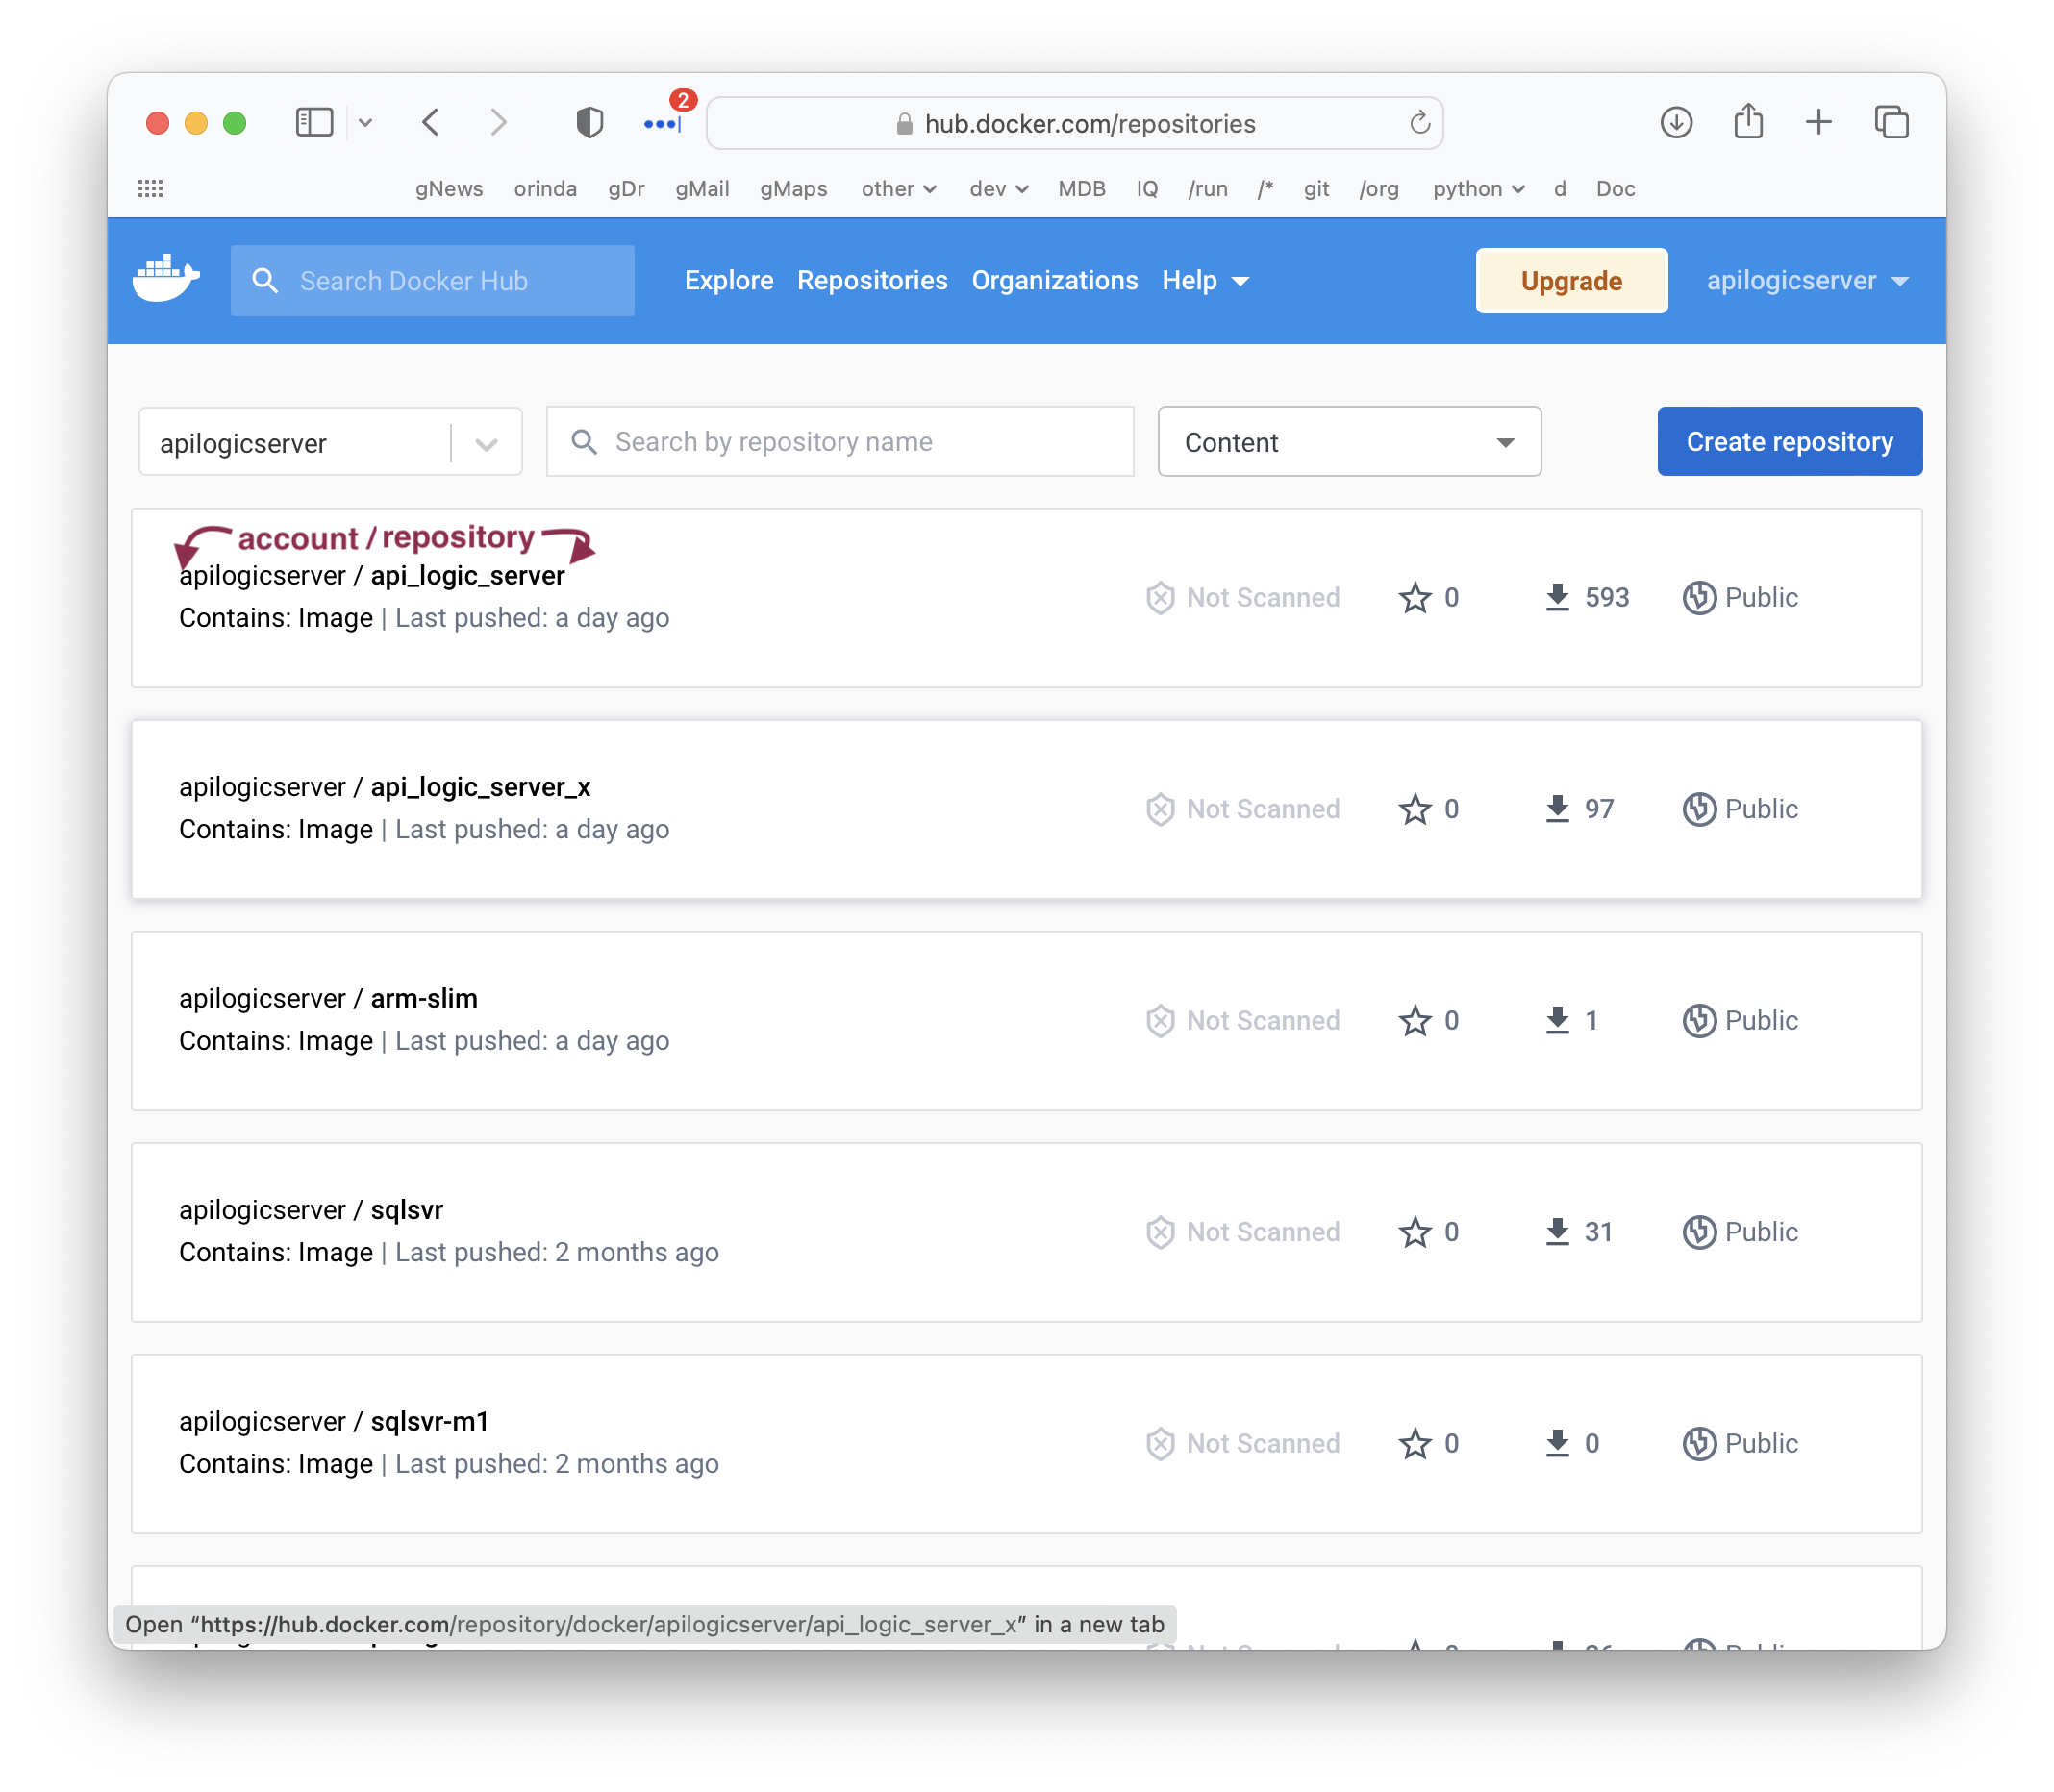
- On Docker Hub, create a docker repository under your docker account. Some quick terms:
- Your docker account can contain multiple docker repositories
- It would be typical to use your project name as the docker repository name
- Note: repository names must be lower case
- Repository names are scoped by your account - see the diagram above. You then refer to your docker repository in the CLI commands as
your_account/your_repository
- A docker repository can can be downloaded (pulled) to create a docker image on your local computer
- A docker image can be run as a docker container
- Your system might be comprised of multiple docker containers, e.g. one for your API Logic Project, one for your DBMS, etc.
- Your docker account can contain multiple docker repositories
- Create / customize your project as your normally would
- Edit
ApiLogicProject.dockerfile: changeyour_account/your_repositoryas appropriate- Here is an example
- In terminal (not in VSCode docker - docker CLI is not installed there), cd to your project
- Build a container for your project with terminal commands:
docker build -f ApiLogicProject.dockerfile -t your_account/your_repository --rm .
docker tag your_account/your_repository your_account/your_repository:1.00.00
docker login; docker push your_account/your_repository:1.00.00
To run your project container directly...
docker run -it --name your_project --rm --net dev-network -p 5656:5656 -p 5002:5002 -v ${PWD}:/localhost your_account/your_repository

# start the image, but open terminal (e.g., for exploring docker container)
docker run -it --name your_project --rm --net dev-network -p 5656:5656 -p 5002:5002 -v ${PWD}:/localhost your_account/your_repository bash
Start docker and load/run API Logic Project from GitHub
The api_logic_server image supports startup arguments so you can control the api_logic_server container, by running a startup script. You can run your own script, or use the pre-supplied script (/home/api_logic_server/bin/run-project.sh) to load/run a git project. For example:
docker run -it --name api_logic_server --rm --net dev-network -p 5656:5656 -p 5002:5002 -v ${PWD}:/localhost apilogicserver/api_logic_server sh /home/api_logic_server/bin/run-project.sh https://github.com/valhuber/Tutorial-ApiLogicProject.git /localhost/Project-Fixup.sh
will load the pre-built sample project from git, and run it. Prior to execution it runs /localhost/Project-Fixup.sh, which in this case resets ui/admin files, like this:
#!/bin/bash

echo " "
echo "Project-Fixup script running"
pwd; ls
echo " "

cp ui/admin/admin_custom_nw.yaml ui/admin/admin.yaml
Instead of using a startup script, you can also use environment variables to achieve the same effect:
docker run -it --name api_logic_server --rm --net dev-network -p 5656:5656 -p 5002:5002 -v ${PWD}:/localhost -e APILOGICSERVER_GIT='https://github.com/valhuber/Tutorial-ApiLogicProject.git' -e APILOGICSERVER_FIXUP='/localhost/Project-Fixup.sh' apilogicserver/api_logic_server